Do you know, that… ?
You can use the tool in SOLIDWORKS assemblies Smart Fasteners, which is used to place screws or the whole set (screw, pads, nuts) in constructions.
attention! In order to use Smart Fastener advance is necessary inclusion dodatku Toolbox!
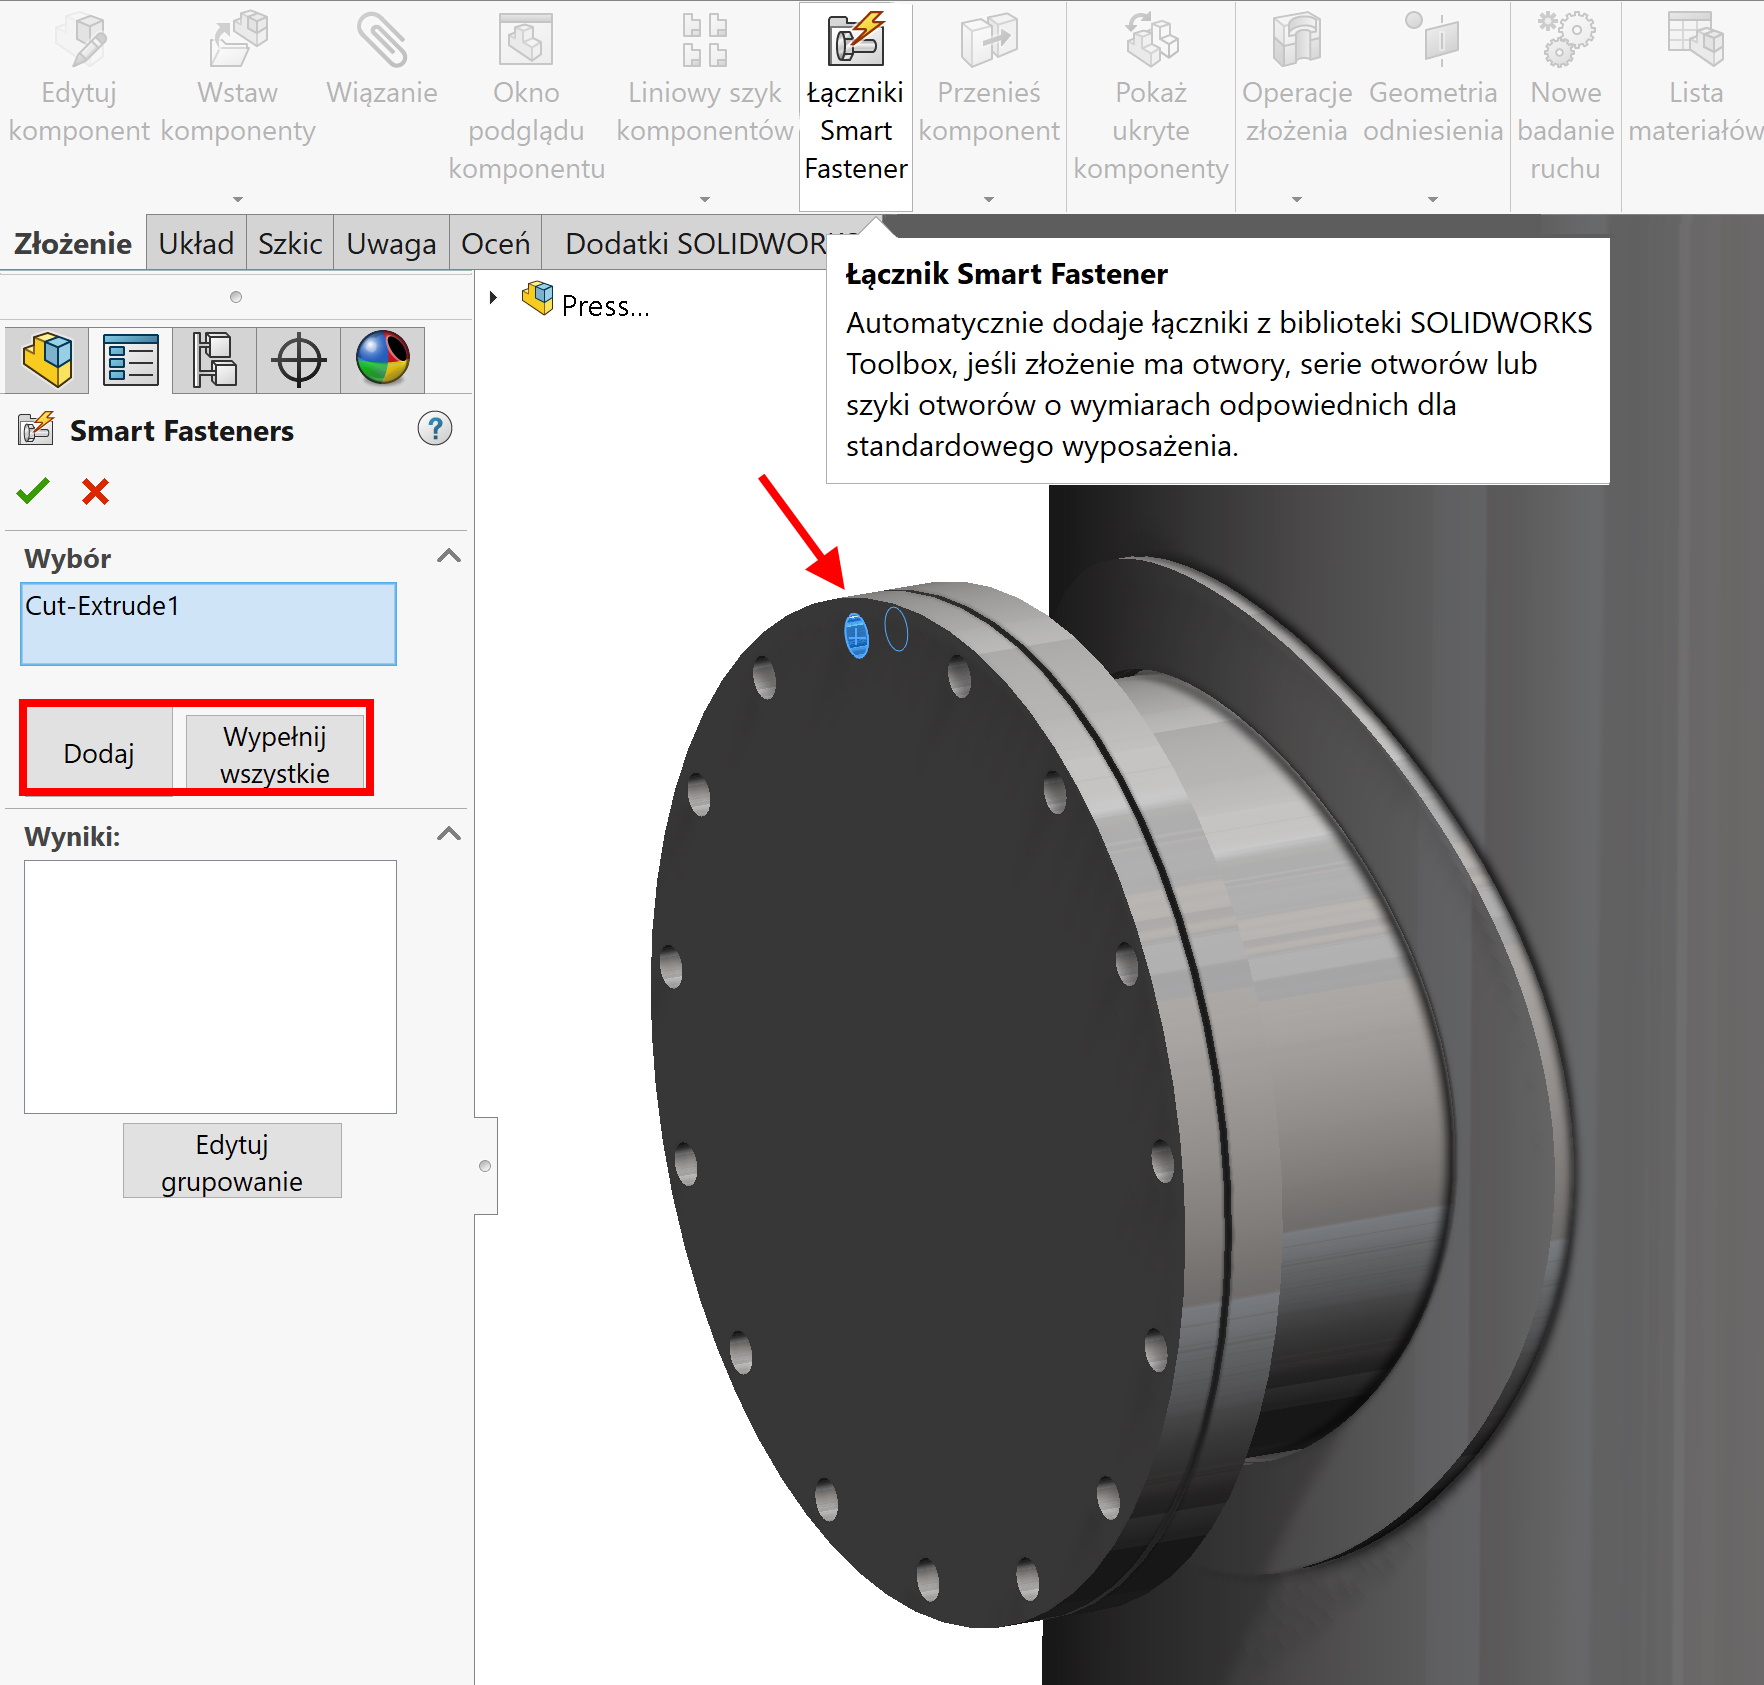
The action consists in indicating the hole and the button Add to or selecting an option Complete all. The program will insert the appropriate bolt type into the appropriate hole. E.g, a countersunk screw will be inserted into the countersink hole.
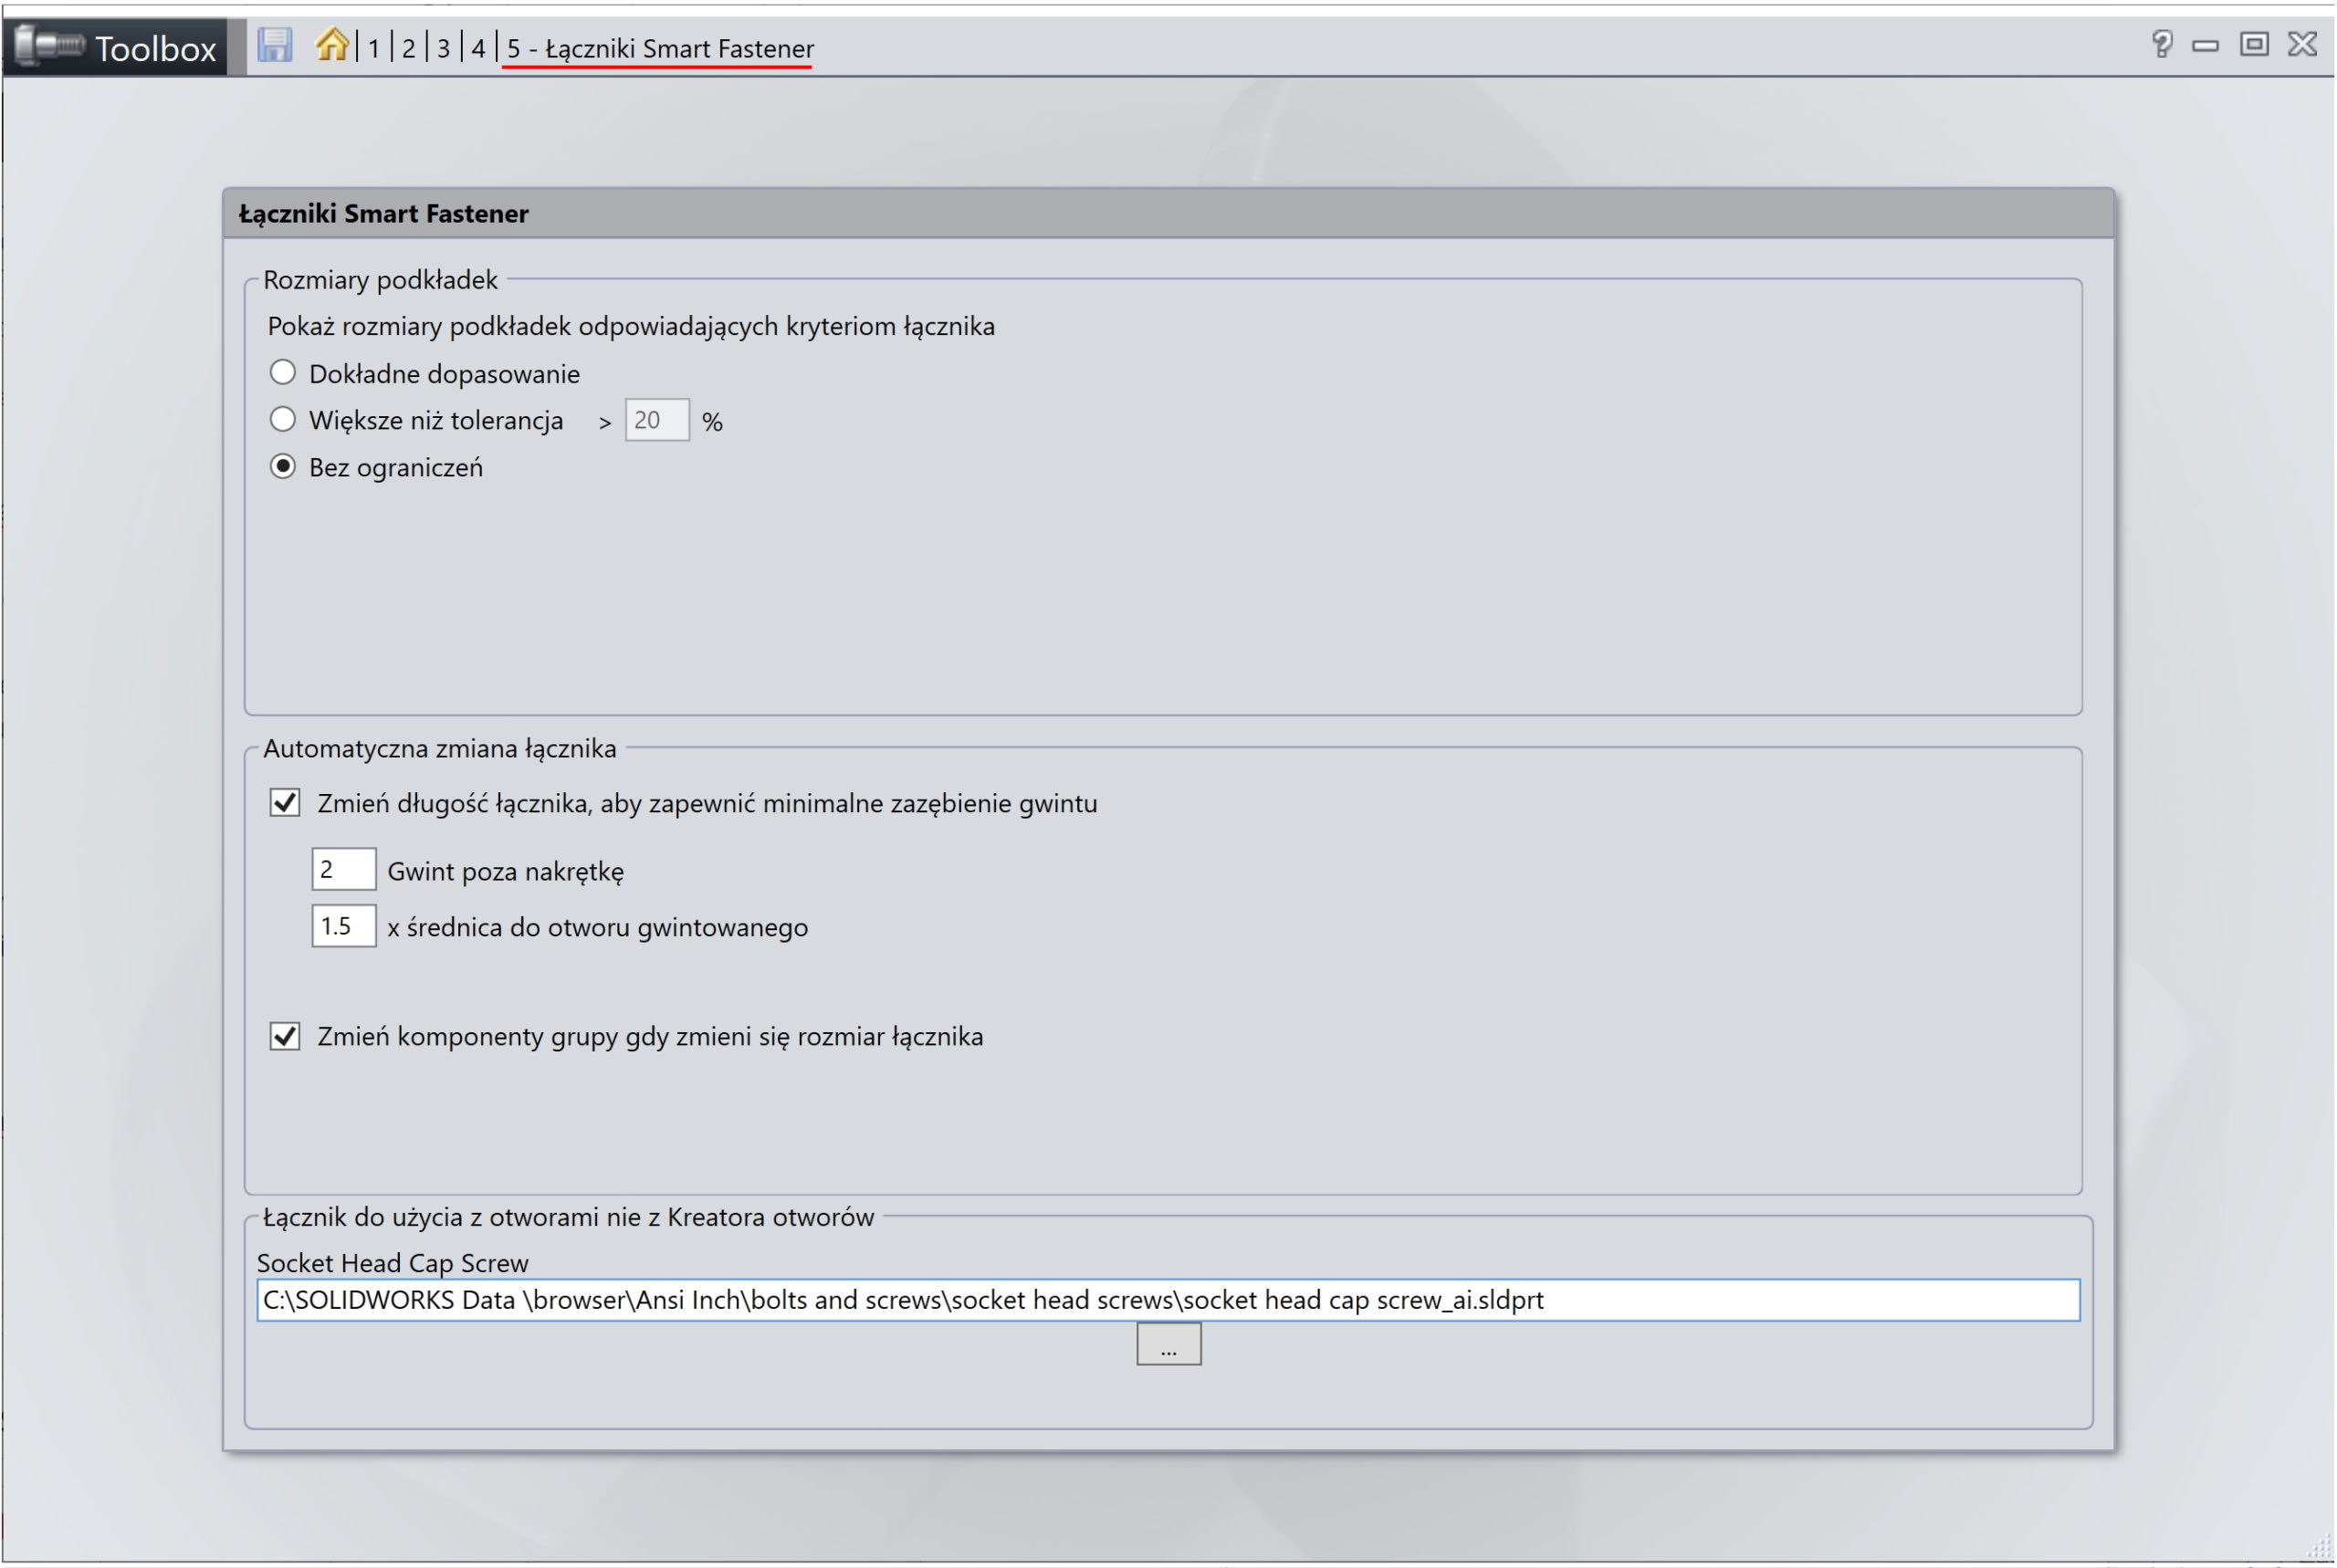
You can also manually change the type of fastener. What fasteners the program should insert into the holes with no wizard, sets in Toolbox settings (Point 5).
It's a good idea to leave the options turned on Autodopasowania size and Automatic length update.
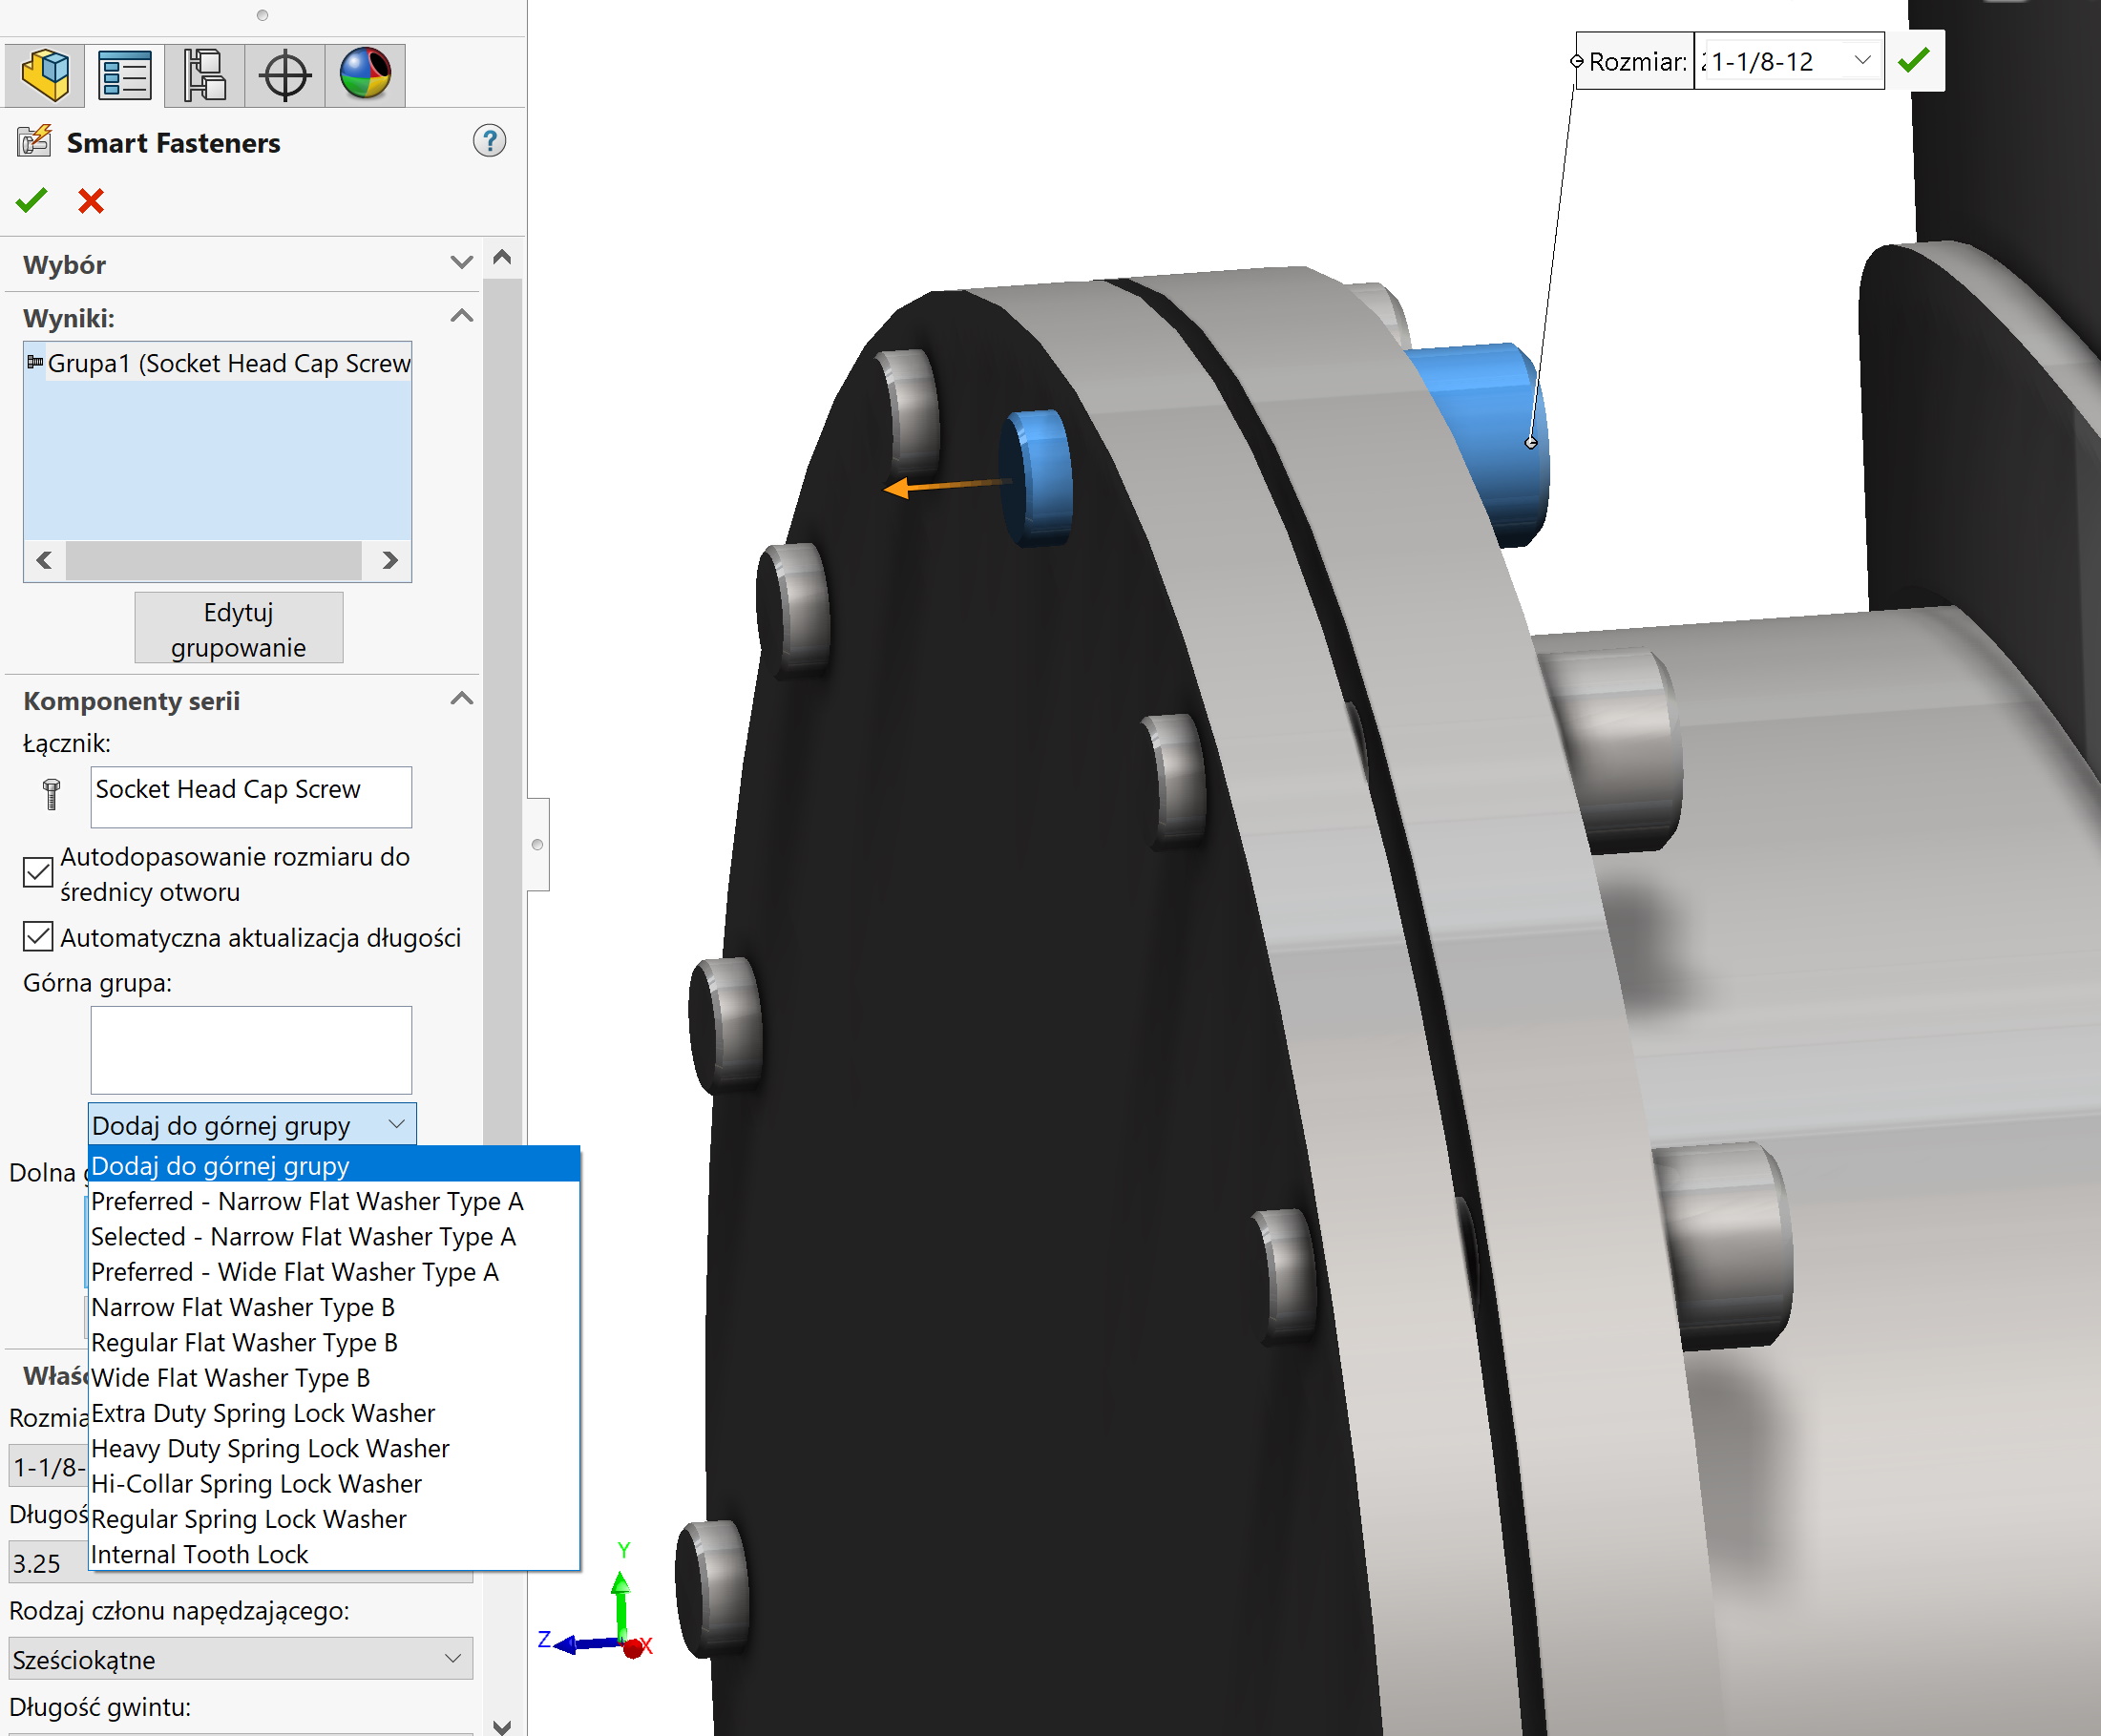
Then you can specify the components Lower and Upper group. The top group denotes parts located on the screw head side (e.g. pad). You select the Toolbox component type from the drop-down list. It's good to find out in advance, what the given name means. However, if you choose the wrong connector, you can delete it and re-select it.
The lower group marks the components at the other end of the connector. note, that by adding a washer and a nut, the bolt automatically elongates.
attention! The extension of the connector depends on the available length configurations. You can check this in Toolbox settings or by adding an attachment to the assembly – in the drop-down list you will see what lengths are present.
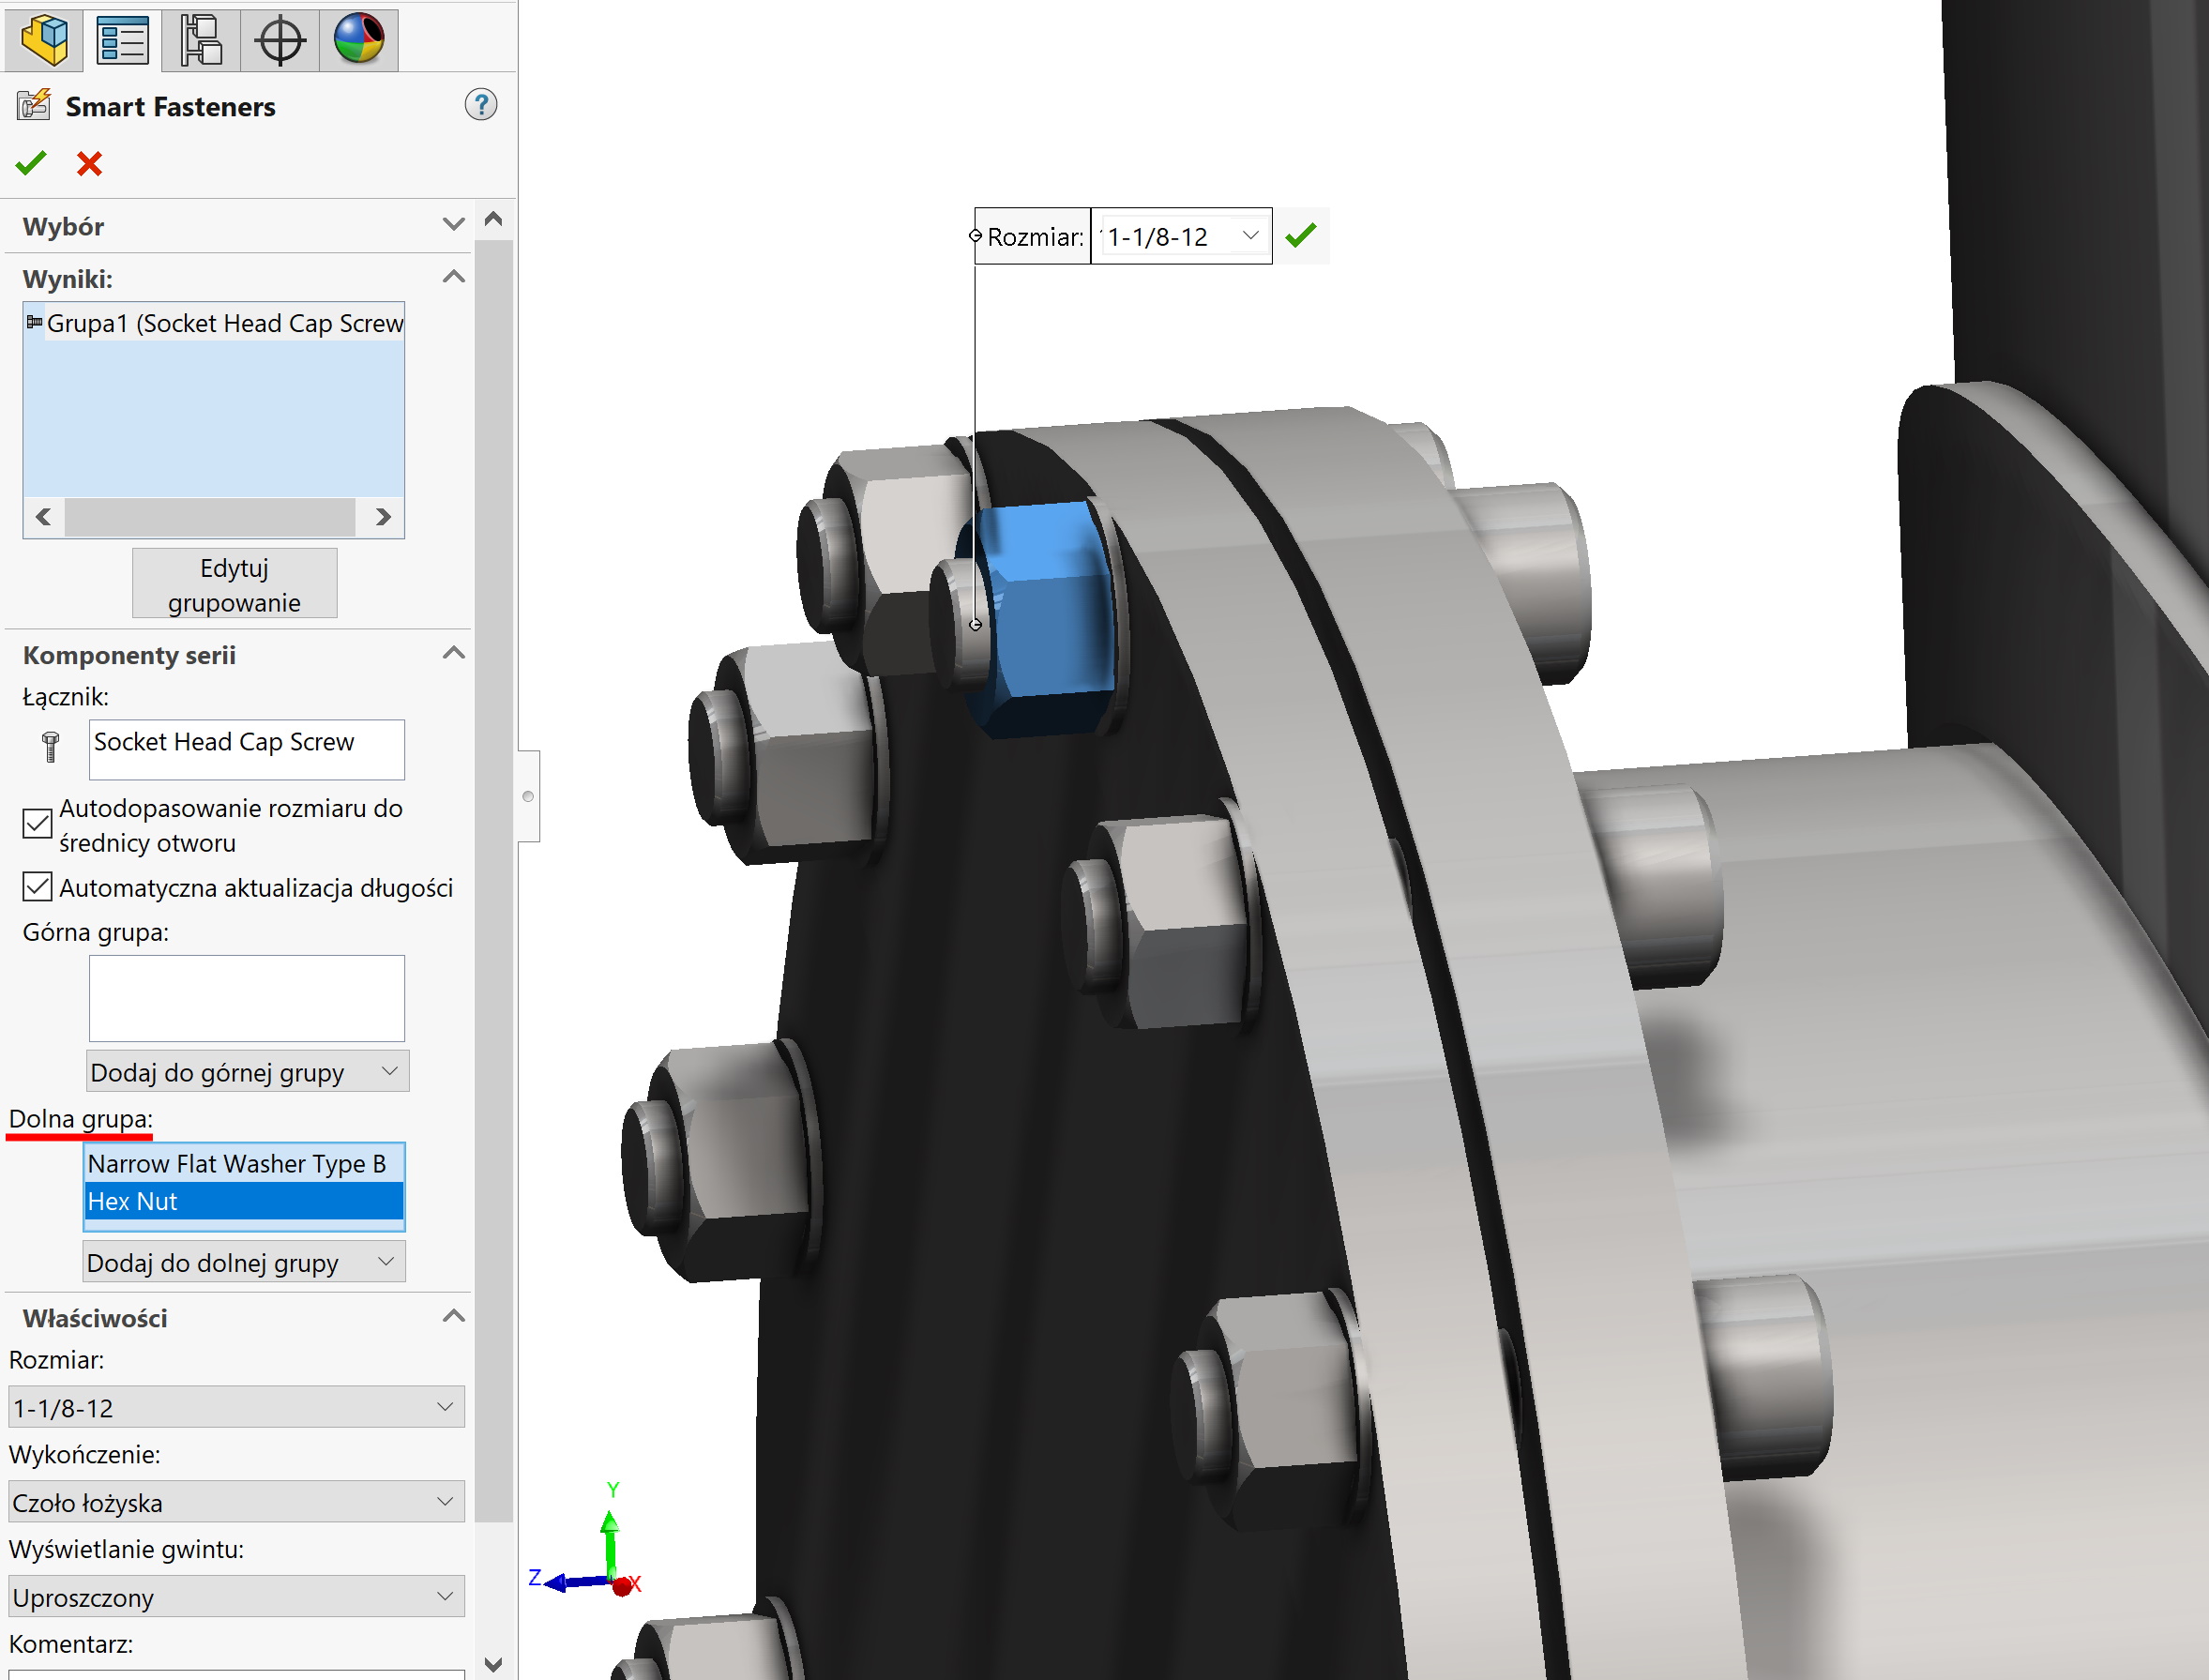
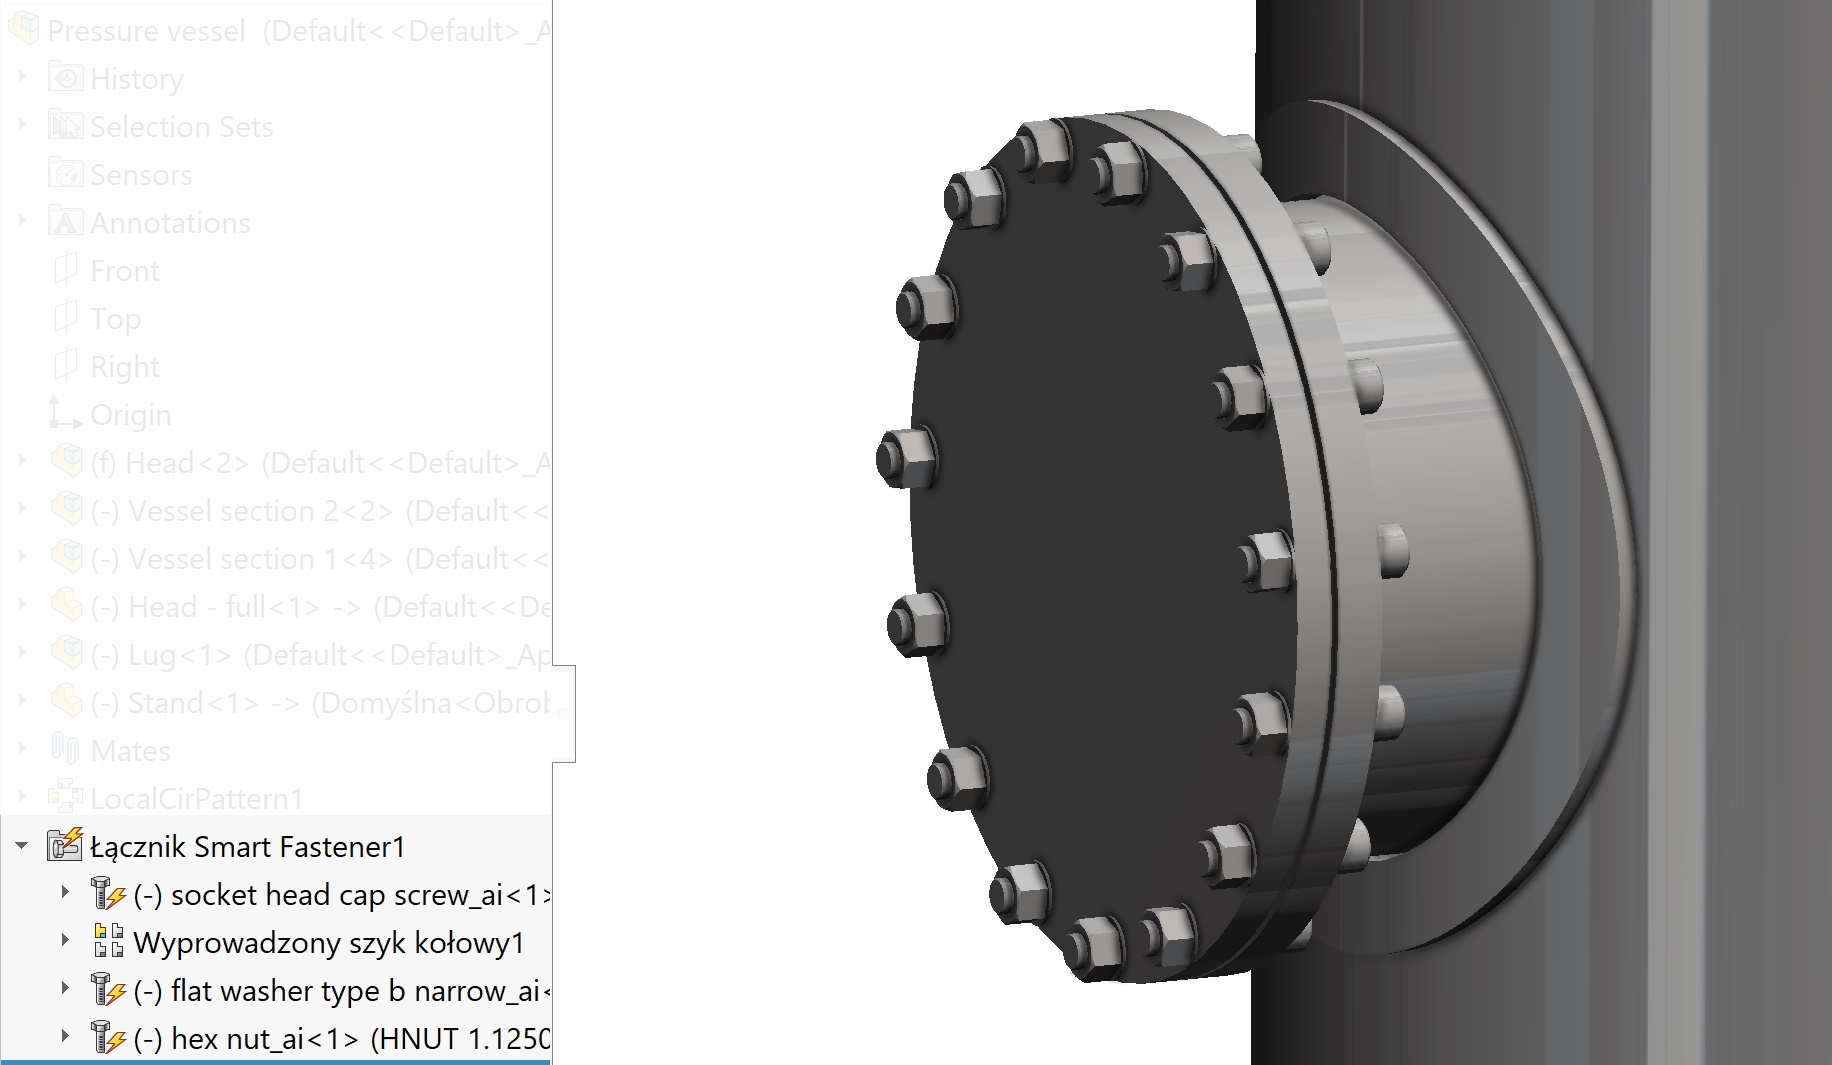
After approval, there is a folder in the operations tree Smart Fasteners, where the inserted components are placed. Of course, the operation is editable.
