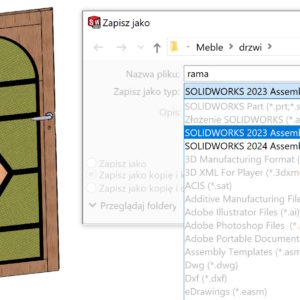
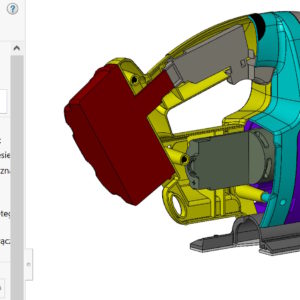
SOLIDWORKS 2024 as well as SOLIDWORKS 2025 allows you to save files up to two versions back while maintaining the history of operations. Do you know, what will happen, if you try(a) save e.g. part from SOLIDWORKS 2025 to version 2023, which contains an operation, which was not available in that version? Below is the answer to this question. We will receive the following message: Incompatible items –...
Category: <span>Tips n Tricks</span>
Direct editing in imported files
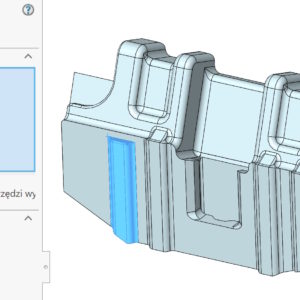
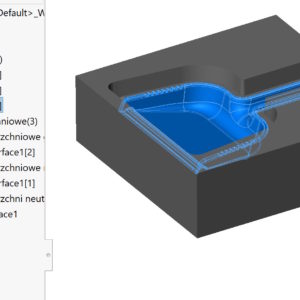
Modifications to imported files (without operation tree) are completely natural and result from the widespread exchange of data. However, the available operations do not always work and you have to use different methods. Walls cannot be removed, regardless of the method and number selected. You can cut out the problem area with a regular solid operation.. Then we fill the gap by moving the wall. I'm removing the wall again – Now...
Symmetrical linear array
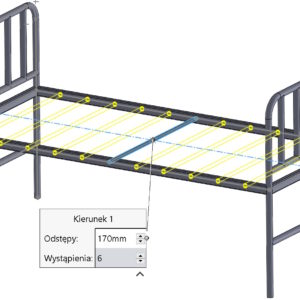
By performing an array of either an operation or an object, sometimes there is a need to do it in two directions. Of course, you can define parameters for the direction independently 1 and separately for the direction 2. If the spacing and number of repetitions are identical for both directions, so why not use the solution known from Circular Array? In this case, for direction 2 you can turn on....
Use software OpenGL in eDrawings
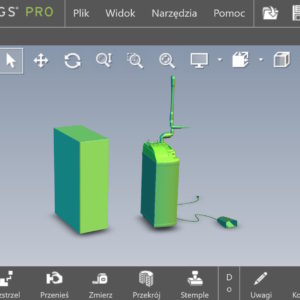
Do you know, that it is also possible to enable OpenGL programmatically in the eDrawings application. What kind of option is this? Software OpenGL disables graphics card hardware acceleration, enabling software-only graphics rendering. This option is automatically enabled, if the graphics card does not support hardware acceleration or does not have the appropriate drivers (for the current resolution settings, colors, refresh rate etc.)....
The section view: Planarne vs. Strefowe
The section view in SOLIDWORKS allows you to graphically cut a 3D model. Word “graphic” By default in SOLIDWORKS in, that the cut is not geometric, therefore, you cannot insert a sketch on a section face. In the location method you can choose between options: Planar and Zone. The latter is less known, even though it appeared already good 10 years ago, no less since the beginning of existence....
Delete/Keep Objects – how to do it faster
By-products may be created during 3D modeling – I mean auxiliary surfaces or unnecessary solids. I think, that everyone should clean up after themselves after finishing work, i.e. remove all unnecessary objects. We do this using the Delete/Keep Objects operation. Of course we choose this option, where there are fewer objects to select. However, I wanted to draw attention, that...
Cylindrical border box
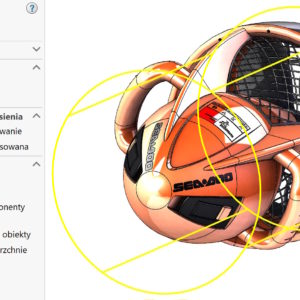
The border box with a range of uses has gently evolved. I have already written about the various options and applications of this tool. Bounding box in parts, , assembly and welded structure The standard frame has a cuboid shape and can be adjusted optimally or to the indicated reference. To, what I wanted to present is the possibility of generating a cylinder-shaped frame. Of course in....
Different ways to finish a 3D model smoothly
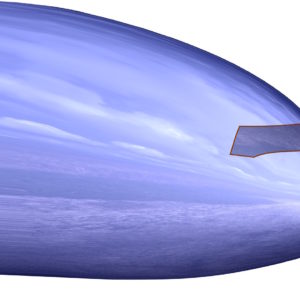
In modeling, we are often faced with choosing a specific operation. But to be able to choose optimally in a given situation – you need to know these operations. I'll show you today, how to finish a rounded shape smoothly. It may be the end of a construction hook, the tip of a pen or the nose of an airplane. 1. Dome. I'll start with the surgery, which only works on solids, and which allows....
Target spacing vs. Instances per loop
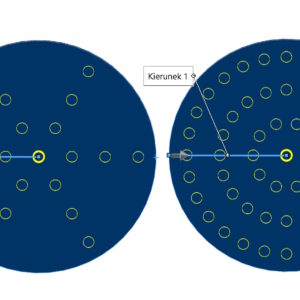
The fill pattern is a very functional pattern operation. Fill pattern with circular arrangement from the corner Performance comparison in sketch and feature patterns You can use it to duplicate your own shapes or use (in the case of cutouts) of four built-in. In the case of a Circular formation, you can choose from two options: 1. Target spacing – define the angular spacing on individual....
Configuring dimension accuracy and tolerances in Excel
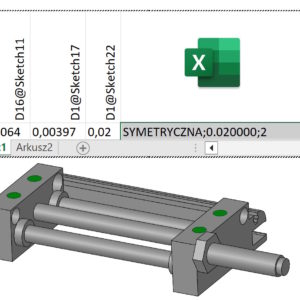
You can control tolerances in the design table as follows: In a part, you can control dimension tolerances in sketches and features. In assemblies you can control the so-called dimension tolerances. assembly operation. This includes bindings (angular or distance), assembly feature cuts and holes, and component patterns. You cannot control the dimension tolerances of a component contained in an assembly. Column header in a table...

