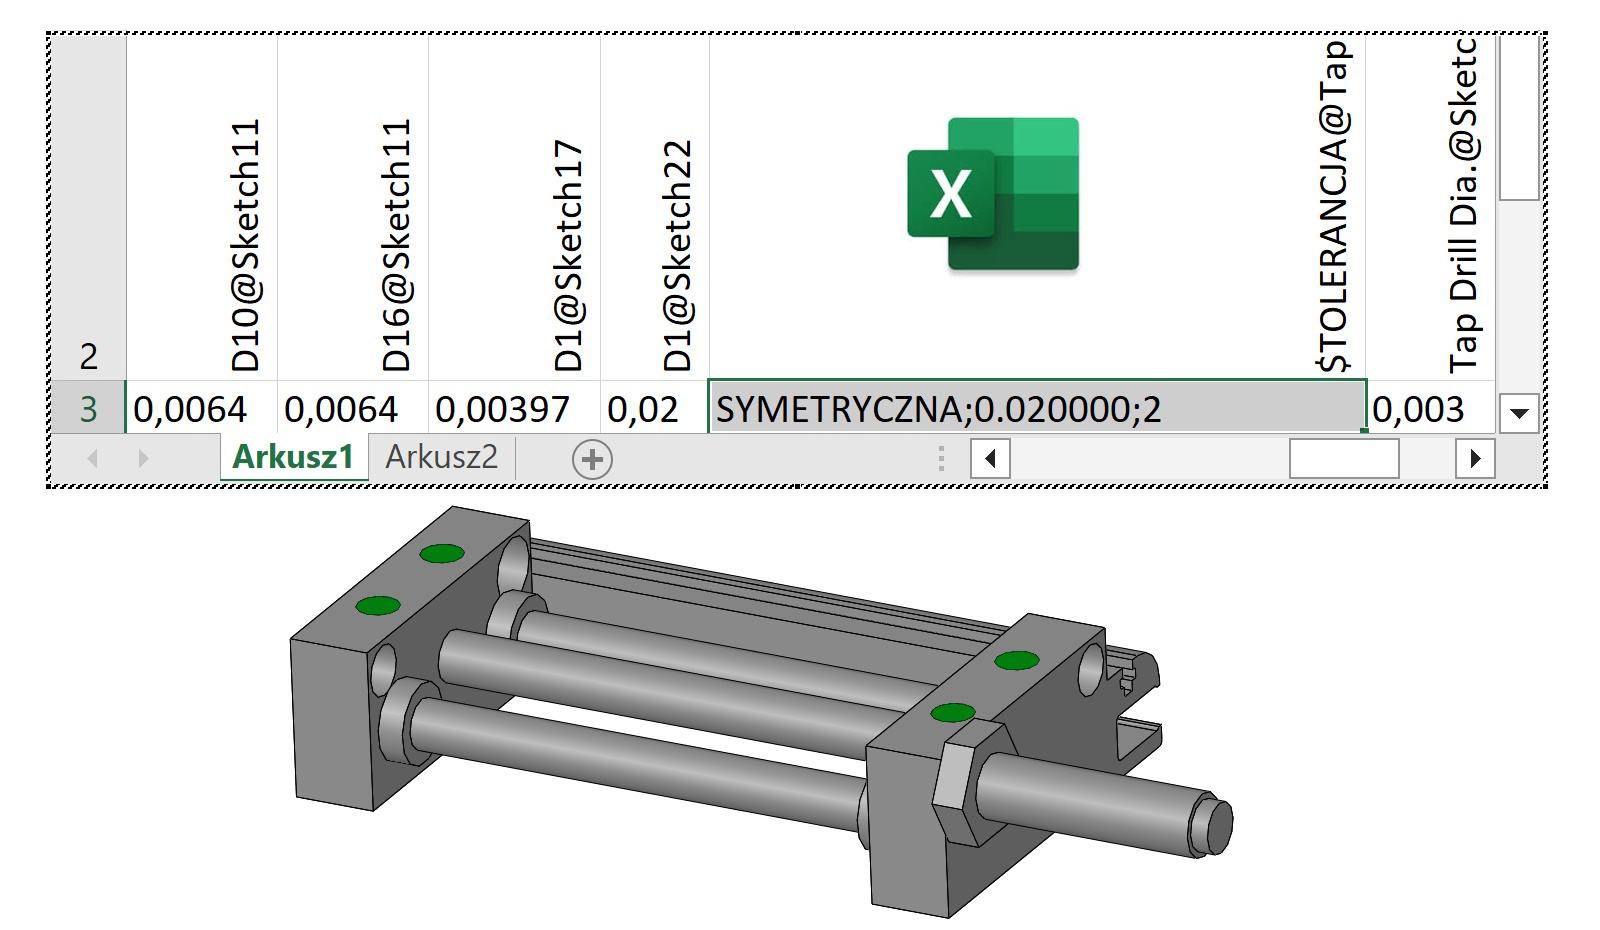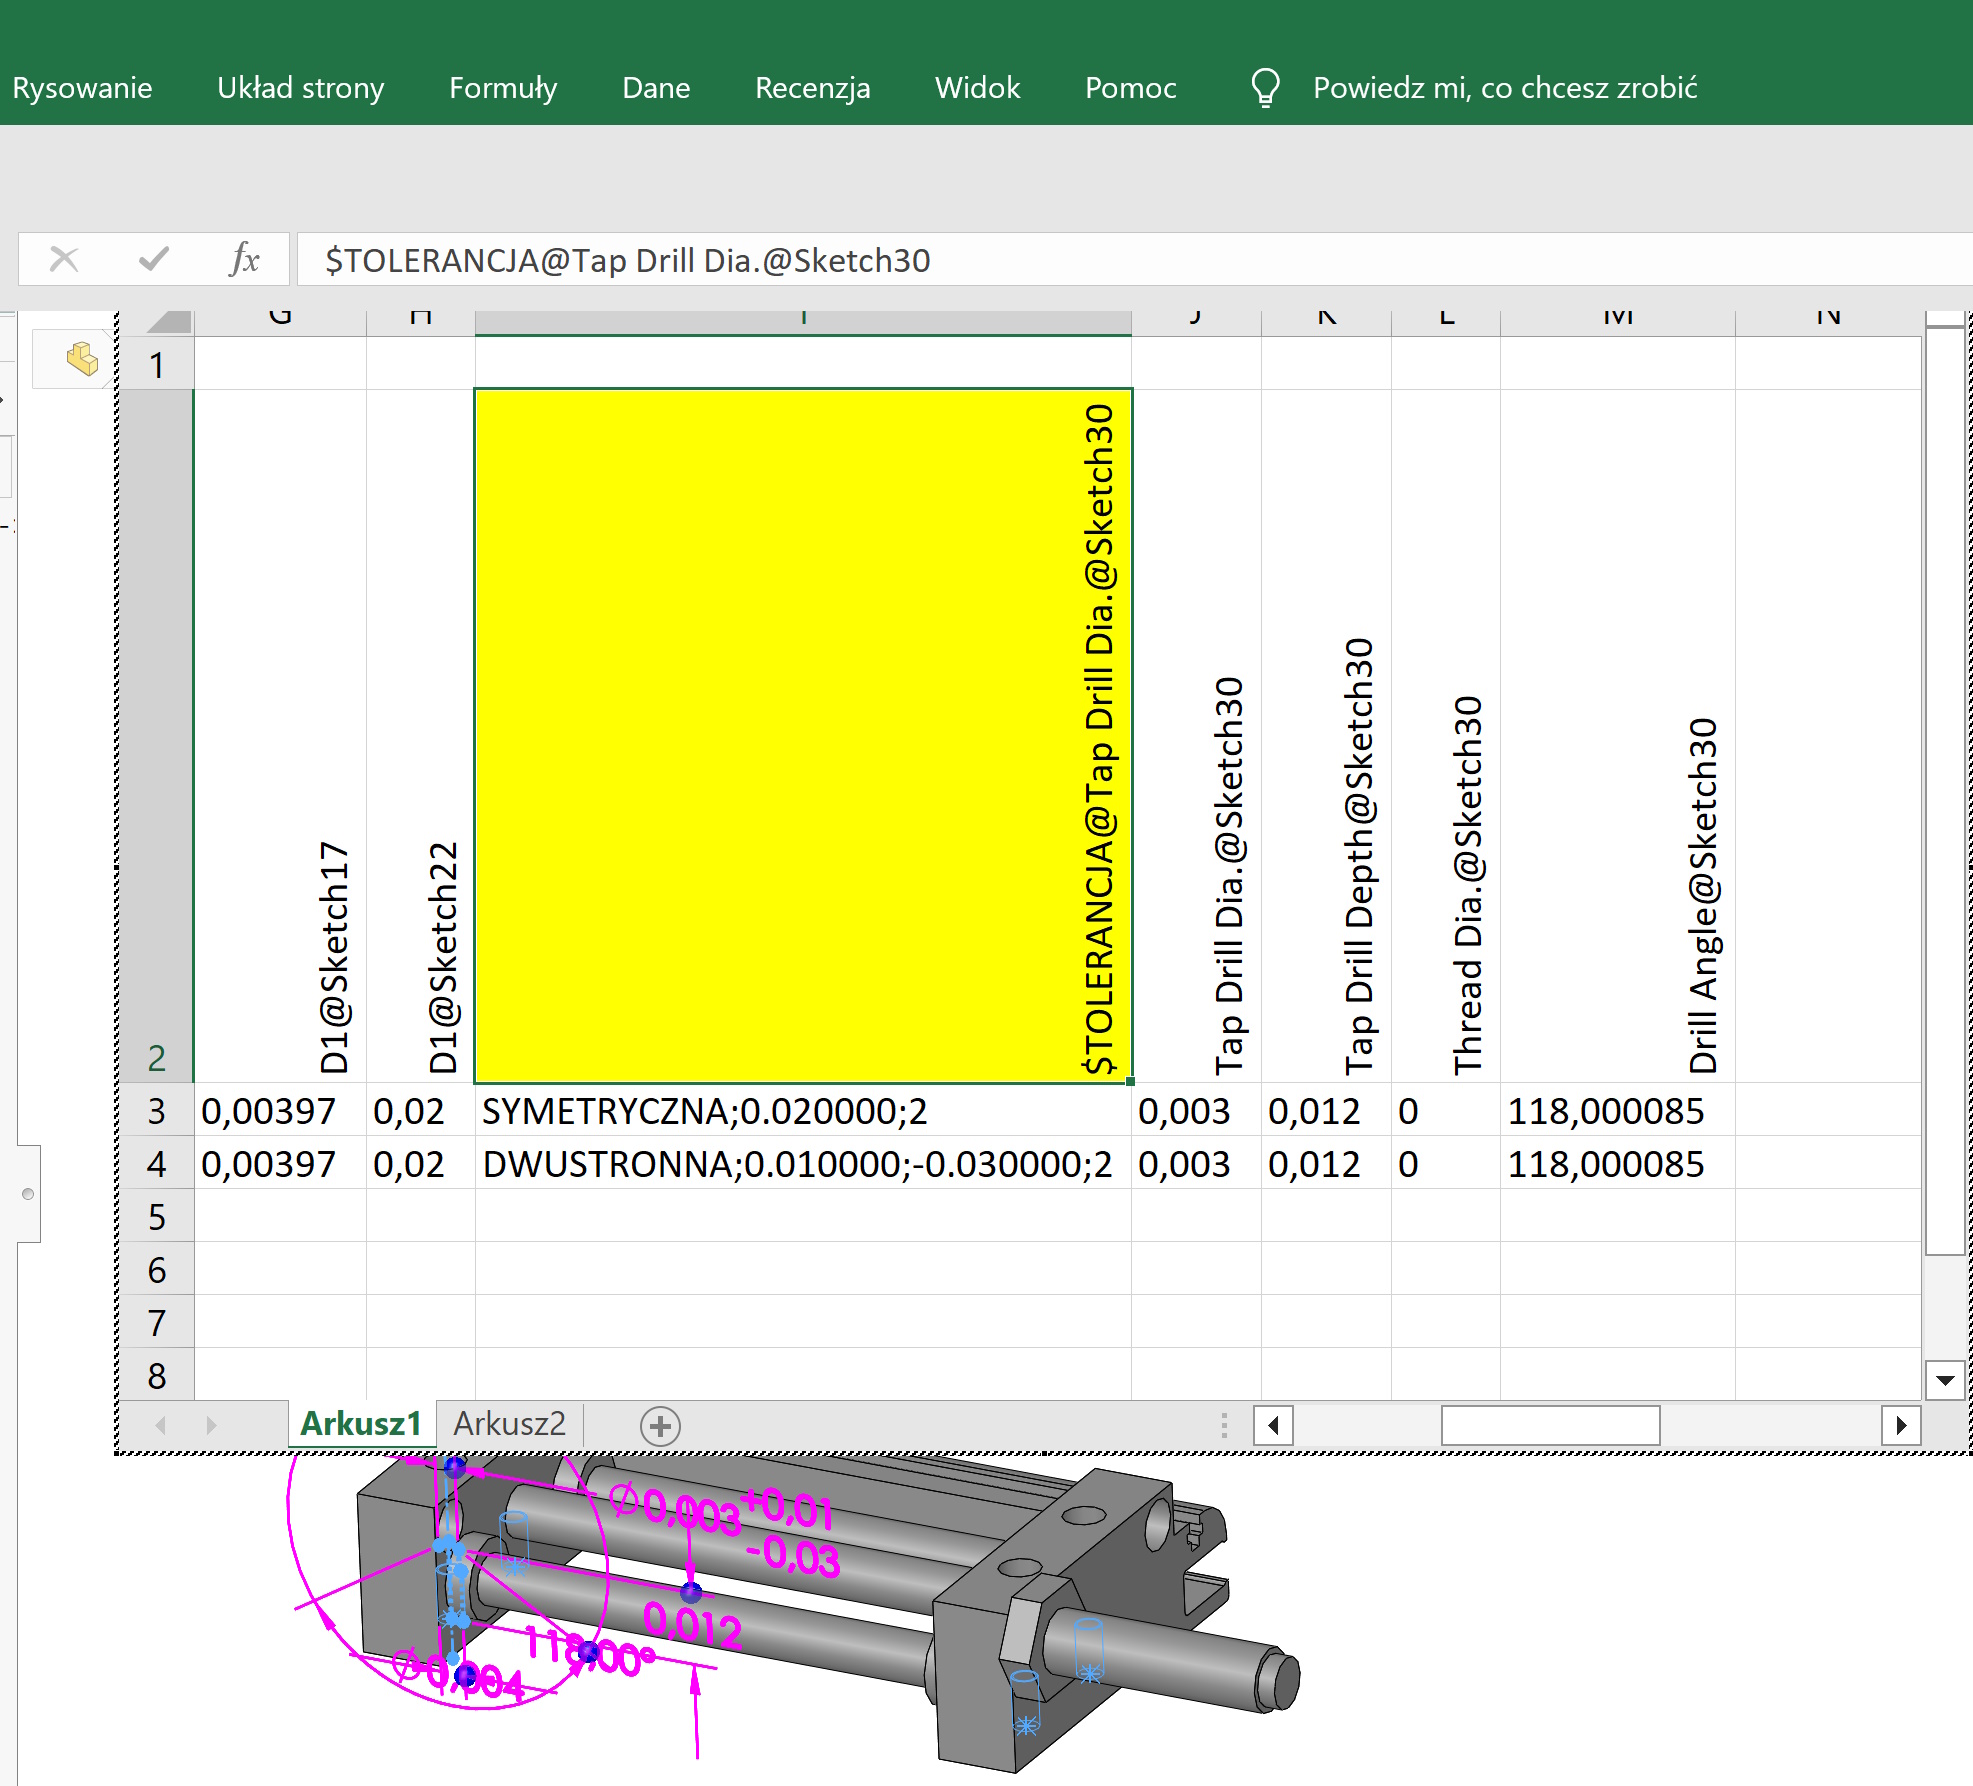
W configuration table Tolerances can be controlled as follows:
- W parts you can control dimension tolerances in sketches and features.
- W assemblies you can control the so-called dimension tolerances. assembly operation. This includes bindings (angular or distance), assembly feature cuts and holes, and component patterns. You cannot control the dimension tolerances of a component contained in an assembly.
The column header in the tolerance control configuration table uses the following syntax:
$TOLERANCE@parameter name
E.g:
- the depth tolerance of the extrude feature is: $TOLERANCE@W1@Extrude1,
- distance bond tolerance is:$TOLERANCE@K1@Distance1.

When entering values for tolerances in the design table, use the following keywords and the syntax shown.
- LACK
- BASIC
- MIN.
- MAX
DOUBLE-SIDED = max_variation;min_variation
LIMIT = max_variation;min_variation
SYMMETRIC = max_variation
FIT = class;hole_match;shaft_match;match_type;max_variation;min_variation
FIT_WITH_TOLERANCE = class;hole_match;shaft_match;type;max_variation;min_variation
MATCH_TOLERANCE_ONLY = class;hole_match;shaft_match;type;max_variation;min_variation
tol_precision
where:
max_variation is positive tolerance.
min_variation is negative tolerance.
class is a general classification.

Leave a Reply