Do you know, że… ?
Currently, 3D scanning technology is more and more popular. Therefore, companies outsource the restoration of details by scanning, which is especially useful for complex shapes that are difficult to measure.
Scanning also allows you to verify the quality by superimposing the scan on the source 3D CAD file.
Today two words about it, what we get as a result of scanning.
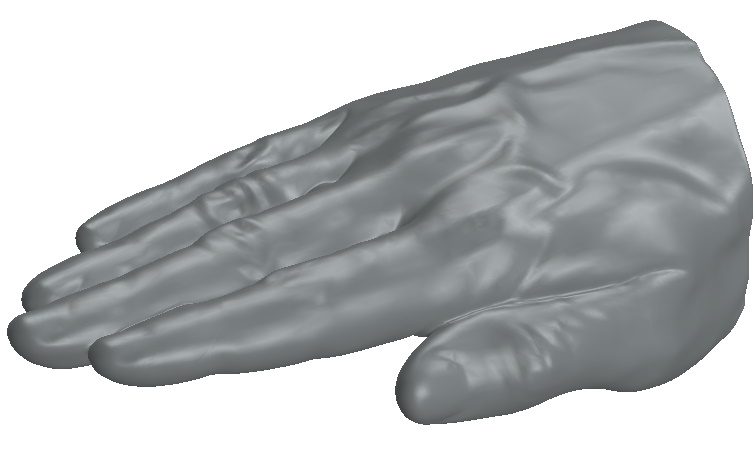
After scanning / measuring the element, we get a cloud of points or a triangle mesh (that is, connected points). Then, we convert the mesh into a surface in a special software attached to the scanner or in a separate application. The surfaces obtained as a result of conversion may be of different quality. Zazwyczaj programy dołączone do skanerów generują dobrej jakości powierzchnie – na pewno lepsze, than those generated with the SOLIDWORKS add-in ScanTo3D.
However, such a surface or solid consists of dozens of patches, which only at first glance seem smoothed.

In fact, micro-deviations can occur at the border of the patches. This ready converted surface / solid model is suitable for 3D printing, but not suitable for injection mold making. All the imperfections would be visible.
With what tools you can verify it?
One of the basic analytical tools available on the card Review is Zebra.
Another helpful tool is Curvature, allows you to detect sudden changes in curvature on adjacent faces.
I jeszcze jedno narzędzie – Deviation analysis. Requires marking of edges for evaluation, is there any smooth (tangents) transition or breakdown.
On the example of such a converted model as above, can be easily stated, that the model is not perfect. For some purposes, it will be sufficient, and for others it will be necessary to rebuild the geometry. This, however, requires a thorough knowledge of surface modeling.
If you are interested in this subject, please refer to a specialist book on this subject: https://solid-podreczniki.pl/produkt/solidworks-2014-modelowanie-powierzchniowe/
