Do you know, że… ?

Often when design tasks (in particular the design) I struggle with the subject lighting. W PhotoView 360 You can apply multiple solutions, but I want to look at two. Or use light-emitting appearance, or simply use lighting. Each of these solutions has pros and cons, although a better word would be to determine, that each solution has specific settings.
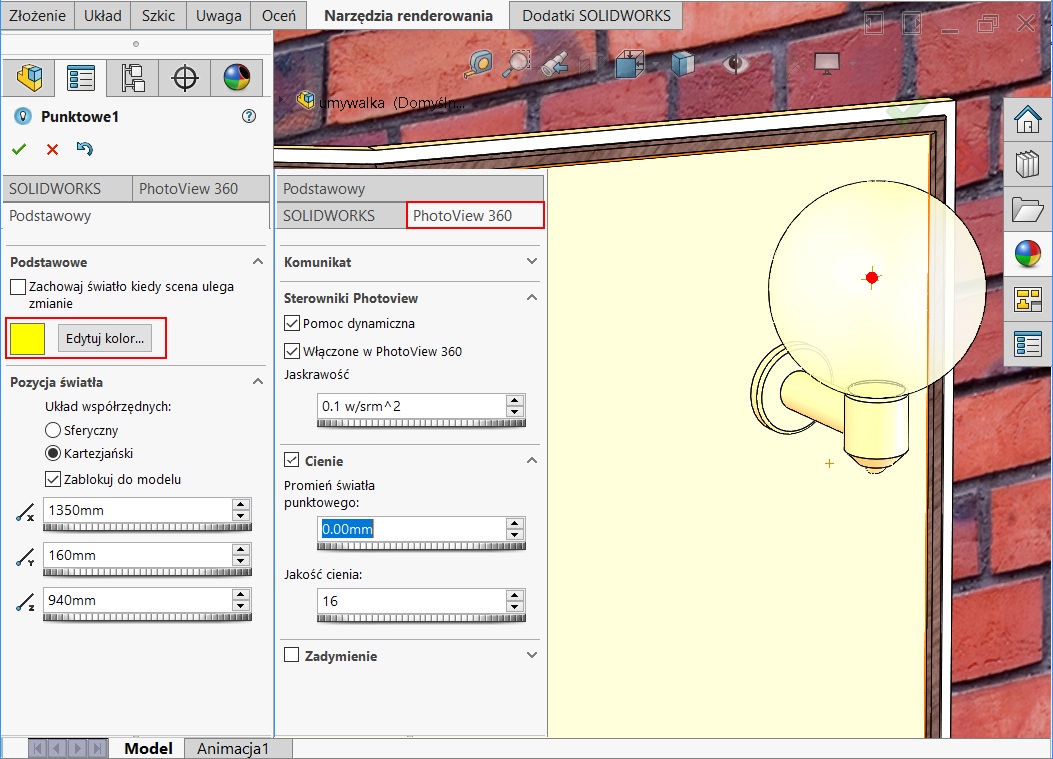
spotlight available on the Scene, lights and cameras allows the insertion of the light source at the point specified coordinates. Unfortunately, the position has to be converted to the origin. We can also point to attract (e.g. so how relationships work in a 3D sketch). The program supposedly attracted to the vertices, the edge, but we do not define the concentricity and after changing the position of the geometry does not update. Druga opcja to ustawienie “na oko” poprzez przeciągnięcie. I set the light inside a transparent lens, whose appearance and transparency have defined earlier.
When you select a location, choose the color and its power and brightness and reflectivity. such light, like other, It can be integrated in the SolidWorks, w PhotoView 360 or both.
In PhotoView defined options such as: vividness, Shadows and Opacity. Especially I pay attention to Shadows, which give realism but also significantly prolong rendering time (the higher quality shadow).
Operacja w moim odczuciu świetnie sprawdzi się podczas imitowania oświetlenia typu “żarówka w kinkiecie”. I miss only option diameter setting of this point. On the next page is infinitely small point, a światło rozchodzi się równomiernie w każdym kierunku – taka jest definicja. So wanting to affect the point size, the intensity of the light to be activated.

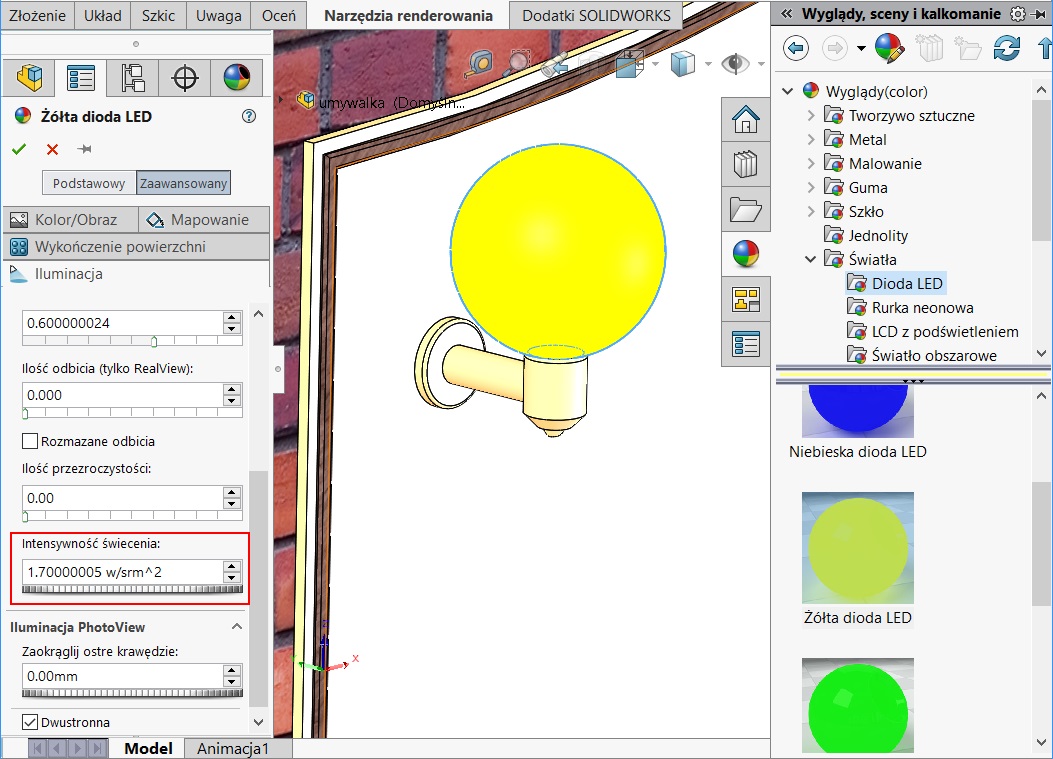
The second type of light, How could I apply this type of design issue LED. Such materials can be found under Appearances > in lights. Poza barwą podobieństwa się kończą…
Appearance as we all know can be assigned to the horizontal part, object, operation or wall. In an assembly, we still have available to component level. In this example I applied the appearance of the wall. But to the result was similar to that discussed above, it was better to leave the transparent lens material, a LED assigned to a separate object that is inside the.
The main options, which can affect the final result is optical light, including intensity.
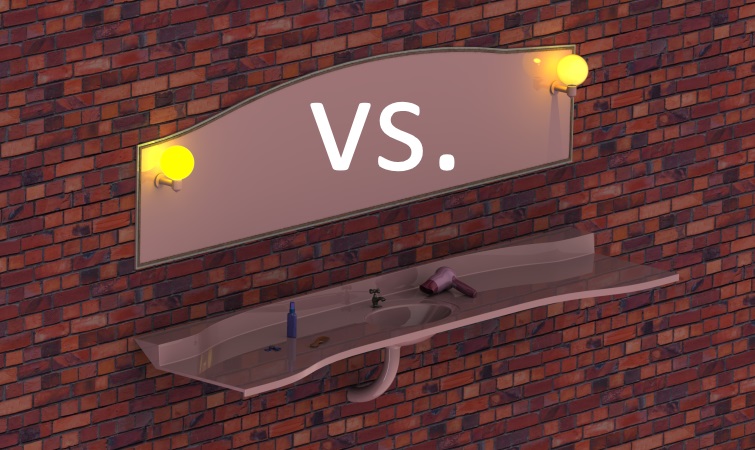
Each of these solutions will be good, as long as the end result will look realistic. In my opinion, in this particular example came out better spotlight. I note, however,, it is not flattering, and this post is rather to show the available solutions than good rendering.
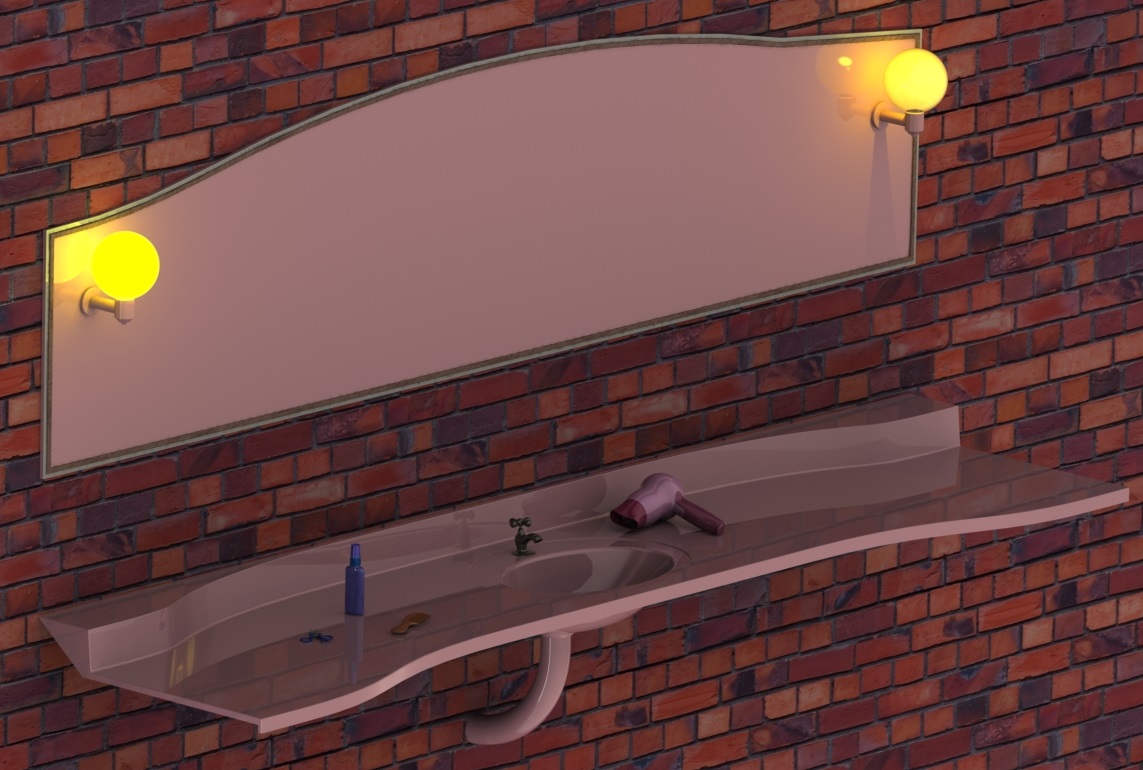

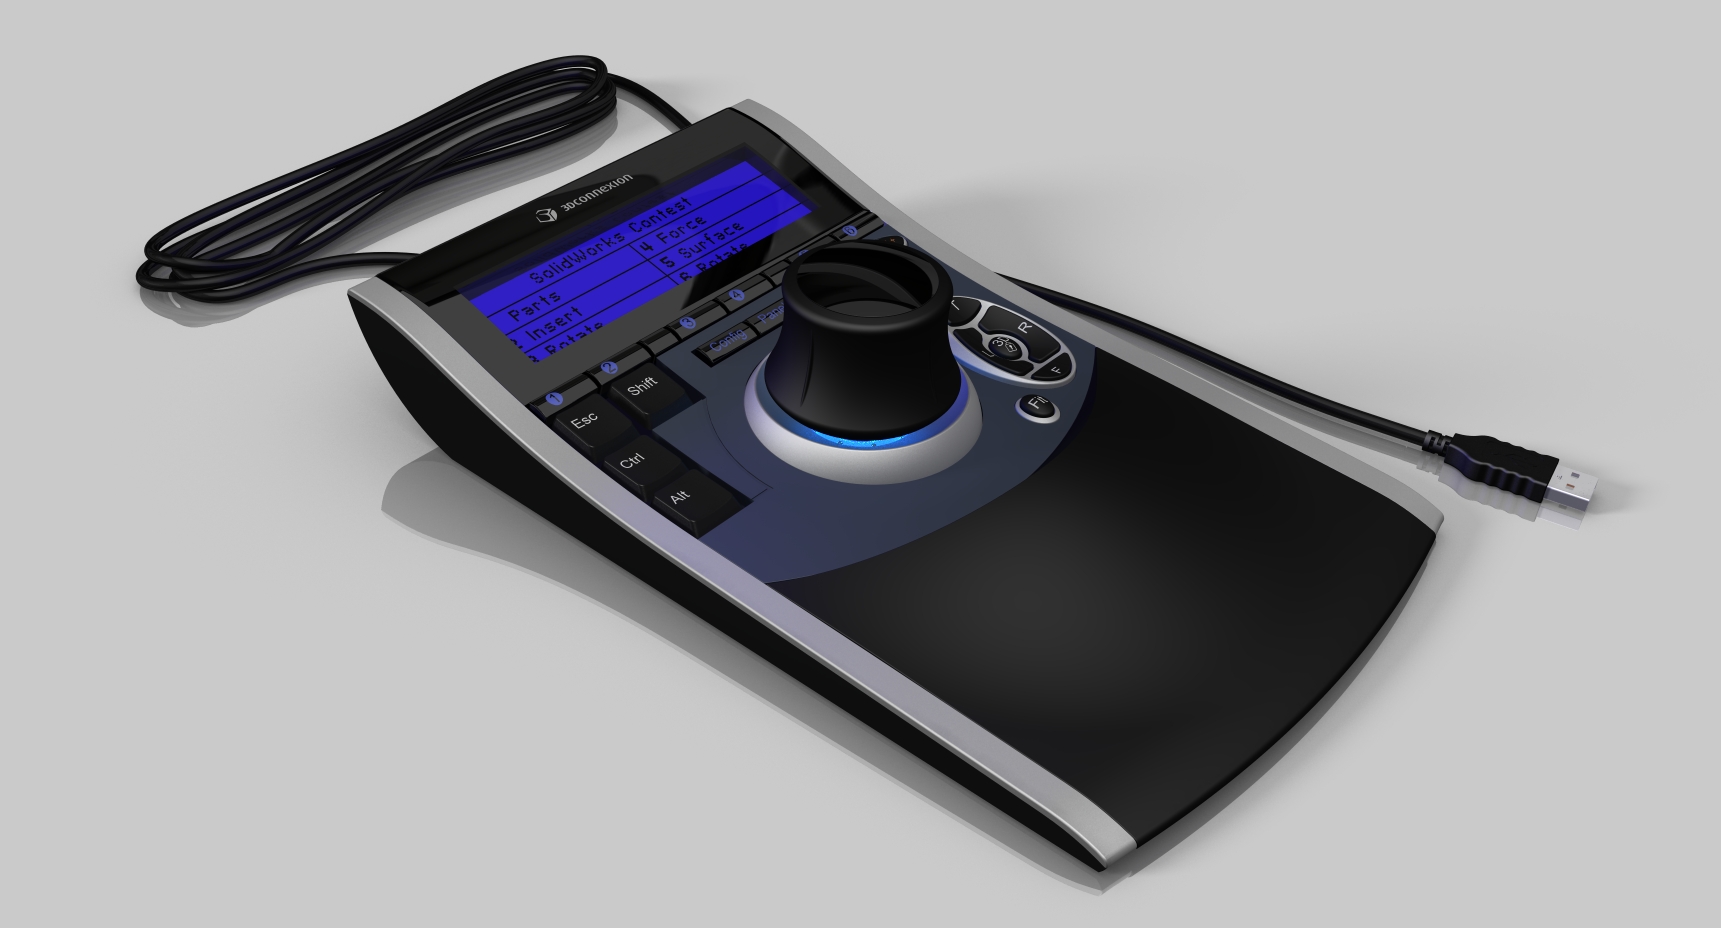
As for the practical application, is shown below in rendering had to face the theme of LED Spotlight. Is the effect is satisfactory, I leave the reader to assess.